
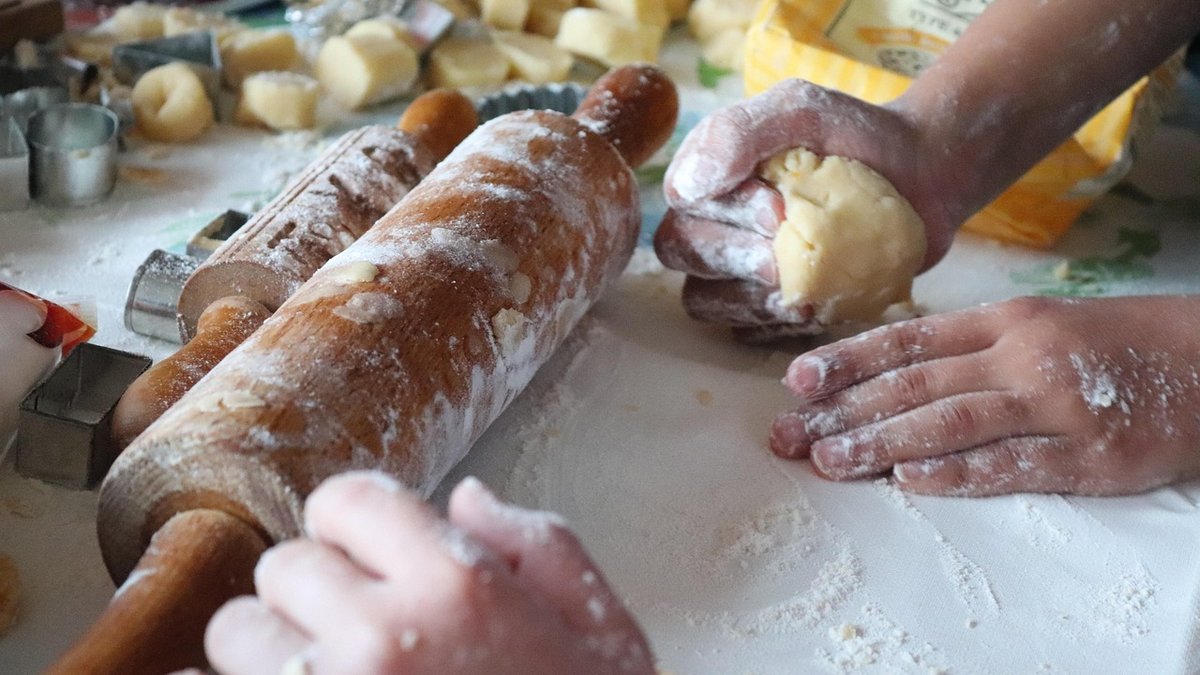
Shop-bought puff pastry is a marvel of food engineering, but it rarely tastes of much beyond fat and salt. Make it with nothing but butter and you get something else entirely: a pastry that smells faintly of toasted cream as it bakes, shatters under the fork into paper-thin leaves, and carries a filling rather than smothering it. The technique is not difficult — it is simply patient. Most of the work is done by the fridge.
The principle is straightforward. You wrap a slab of butter in a soft dough, then roll and fold it repeatedly. Each fold multiplies the layers, and in a hot oven the water in the butter turns to steam and pushes them apart. Get that right and you will never look at the chiller cabinet in quite the same way again.
Everything should be cold: cold butter, cold water, cool hands, and a cool worktop. On a warm day, work in the morning and chill the surface you roll on.
For the pastry
Kit
Note the equal weights of flour and butter — the classic proportion for a rich puff. Anything less and you lose the flavour that makes the effort worthwhile.
Mix the flour and salt in a large bowl. Stir the lemon juice into the water, then pour in most of it and bring everything together with a round-bladed knife or your fingertips until you have a shaggy but cohesive dough, adding the last of the water only if needed. You are not kneading; you want the gluten barely developed so the pastry stays tender. Shape it into a flat rectangle, wrap it, and rest it in the fridge for 30 minutes.
Meanwhile, lay the butter between two sheets of parchment and bash it with the rolling pin into a rectangle roughly 15cm by 20cm and about 1cm thick. Keep it rectangular and even — a block with thin edges will break through the dough later. If it softens too much, return it to the fridge for ten minutes.
Roll the rested dough into a rectangle about twice the size of the butter block. Lay the butter on one half, fold the other half over it, and press the edges firmly to seal. Now you are ready to fold.
Two rules matter more than anything else. Keep the edges straight and square as you roll, or the layers will be uneven and the pastry will rise crookedly. And dust with as little flour as possible, brushing off any excess — flour trapped between the layers turns to paste and stops them separating.
After the final turn, rest the pastry in the fridge for at least an hour before using. Wrapped well, it keeps for three days, or three months in the freezer.
For vol-au-vents, roll to about 4mm, cut two rounds for each case, cut a smaller circle from one of them, then stack and brush the ring with egg wash to glue them. For tarts, roll to 3mm, line a buttered tin, prick the base, and chill again for 30 minutes before baking. For palmiers and cheese straws, roll to 3mm and work briskly — the pastry softens within minutes.
Always rest shaped pastry in the fridge for half an hour before it meets the oven. This relaxes the gluten and firms the butter, which is what stops the layers shrinking back or leaking. Bake in a preheated oven at 200°C (180°C fan, gas 6) for the first fifteen minutes to set the structure, then drop to 180°C (160°C fan, gas 4) until golden, deep brown at the edges, and dry underneath. Egg wash gives a handsome gloss, but never let it run down the cut edges, as it will glue the layers shut.
For tarts and filled cases, a thin protective layer — beaten egg white, a dusting of semolina, or a smear of mustard — keeps the base from going soggy.
Baked pastry is best the same day, though it refreshes beautifully after five minutes in a hot oven. Keep raw pastry well wrapped in the fridge, or freeze it in flat, ready-rolled sheets separated by parchment — and you will always be half an hour from a proper tart.

Hi, my name is Anthony kuber. I am artist and fashion designer.
I love to travel and writing blogging.
Your email address will not be published. Required fields are marked *
Software Developer & Writer
Hey, I'm Diva, a developer and writer blending code and creativity. I'm driven by a deep curiosity and a relentless pursuit of excellence. Join me as I craft digital solutions and captivating stories.


