
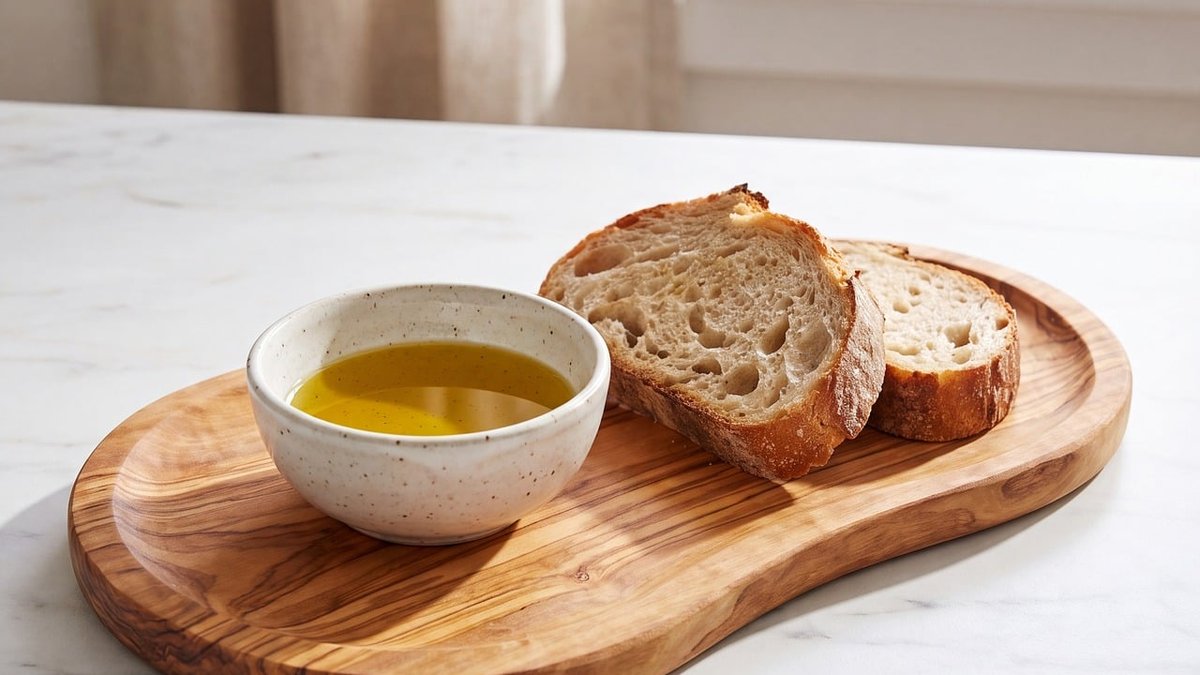
A great white loaf begins long before the oven is switched on. It starts with four simple things: flour, water, yeast and salt, treated with a little respect. The difference between a forgettable slice and one with a soft, even crumb and a burnished crust comes down to how you handle them.
Use strong white bread flour, with a protein content of around 12 to 13 per cent. That protein builds the gluten needed to trap steam and rise properly. Plain flour will work in a pinch, but the loaf will be flatter and cakier.
For a standard 900g tin loaf, weigh out 500g of strong white flour, 320g of lukewarm water, 10g of fine sea salt and 7g of dried yeast (or 15g of fresh). That hydration — roughly 64 per cent — is forgiving for a beginner yet gives a lovely open crumb. Water temperature matters more than most people realise. Aim for around 25°C: comfortably warm on the wrist, never hot enough to scald the yeast.
Kneading is not punishment. It is the gentle development of a network that will hold your loaf together. Tip the dough onto a lightly floured surface and work it with the heel of your hand: push, fold, turn, repeat. After eight to ten minutes it should feel smooth, elastic and slightly tacky, but no longer sticky.
The classic test is the windowpane. Pinch off a small piece and stretch it gently between your fingers. If you can see light through it without it tearing, the gluten is ready. If it rips, knead for another two minutes and try again.
If your arms tire, try the slap and fold method: lift the dough, slap it down, fold it over, rotate and repeat. It is quicker, remarkably satisfying, and builds strength beautifully. A ten-minute rest midway also helps — the flour hydrates fully and the dough relaxes.
Place the dough in a lightly oiled bowl, cover it with a clean tea towel or a shower cap, and leave it somewhere draught-free. A kitchen at around 22°C is ideal. In one to two hours it should roughly double in size.
Judge the rise by look and feel, not by the clock. Press two fingers gently into the dough. If the indent springs back slowly and only partially, it is ready. If it springs back immediately, it needs longer. If it collapses and stays put, it has over-proved — bake it anyway, and note the timing for next time.
Slower is usually better. A dough proved in a cool larder overnight develops far more flavour than one rushed in a warm airing cupboard. The yeast works gradually, producing subtle, slightly nutty notes that a fast rise simply cannot match.
Turn the risen dough onto a very lightly floured surface. Knock it back gently with your knuckles to release the large gas bubbles, then shape it into a rough ball. Leave it, covered, for ten minutes. This short rest relaxes the gluten so it will stretch without fighting you.
Now for the final shape. Flatten the dough into a rectangle roughly the length of your tin, then fold the two long sides into the middle as if closing a book. Roll it up tightly from one short end, pressing the seam firmly with the heel of your hand. Place it seam-side down in a greased 900g loaf tin.
The aim is surface tension: a tight, smooth top that will rise upwards rather than outwards. If the dough feels slack, cup your hands around it and tuck the edges underneath, rotating as you go, until it tightens into a neat cylinder.
Cover the tin and leave it to prove again for 45 minutes to an hour. The dough should rise just above the rim of the tin and feel airy and light when you press it. Meanwhile, heat your oven to 220°C (200°C fan, gas mark 7) with a sturdy baking tray inside.
The loaf is done when it sounds hollow when tapped underneath and the internal temperature reads around 96°C. If the top is browning too quickly, tent it loosely with foil.
Resist the urge to cut into it straight away. Place the loaf on a wire rack and leave it for at least an hour. The crumb is still setting as it cools; slice too early and you will squash the very texture you worked for. The crust will also soften slightly, becoming crisp rather than rock-hard.
Once fully cool, store it in a paper bag or a linen cloth — never a plastic bag, which traps moisture and turns the crust leathery. It keeps well for two days, and makes excellent toast for another three. Freeze half in slices if you bake faster than you eat. That first warm slice, spread thickly with salted butter, is the whole point of the exercise. Enjoy it.

Hi, my name is Anthony kuber. I am artist and fashion designer.
I love to travel and writing blogging.
Your email address will not be published. Required fields are marked *
Software Developer & Writer
Hey, I'm Diva, a developer and writer blending code and creativity. I'm driven by a deep curiosity and a relentless pursuit of excellence. Join me as I craft digital solutions and captivating stories.


